4 Aug 2013

Prudential RideLondon Hits Parsons Green

It's nice when events go right past your house - no traffic all day and only half a minute's walk to the action. The event today was London's biggest cycling event this year: the Prudential RideLondon-Surrey 100-mile cycle ride.

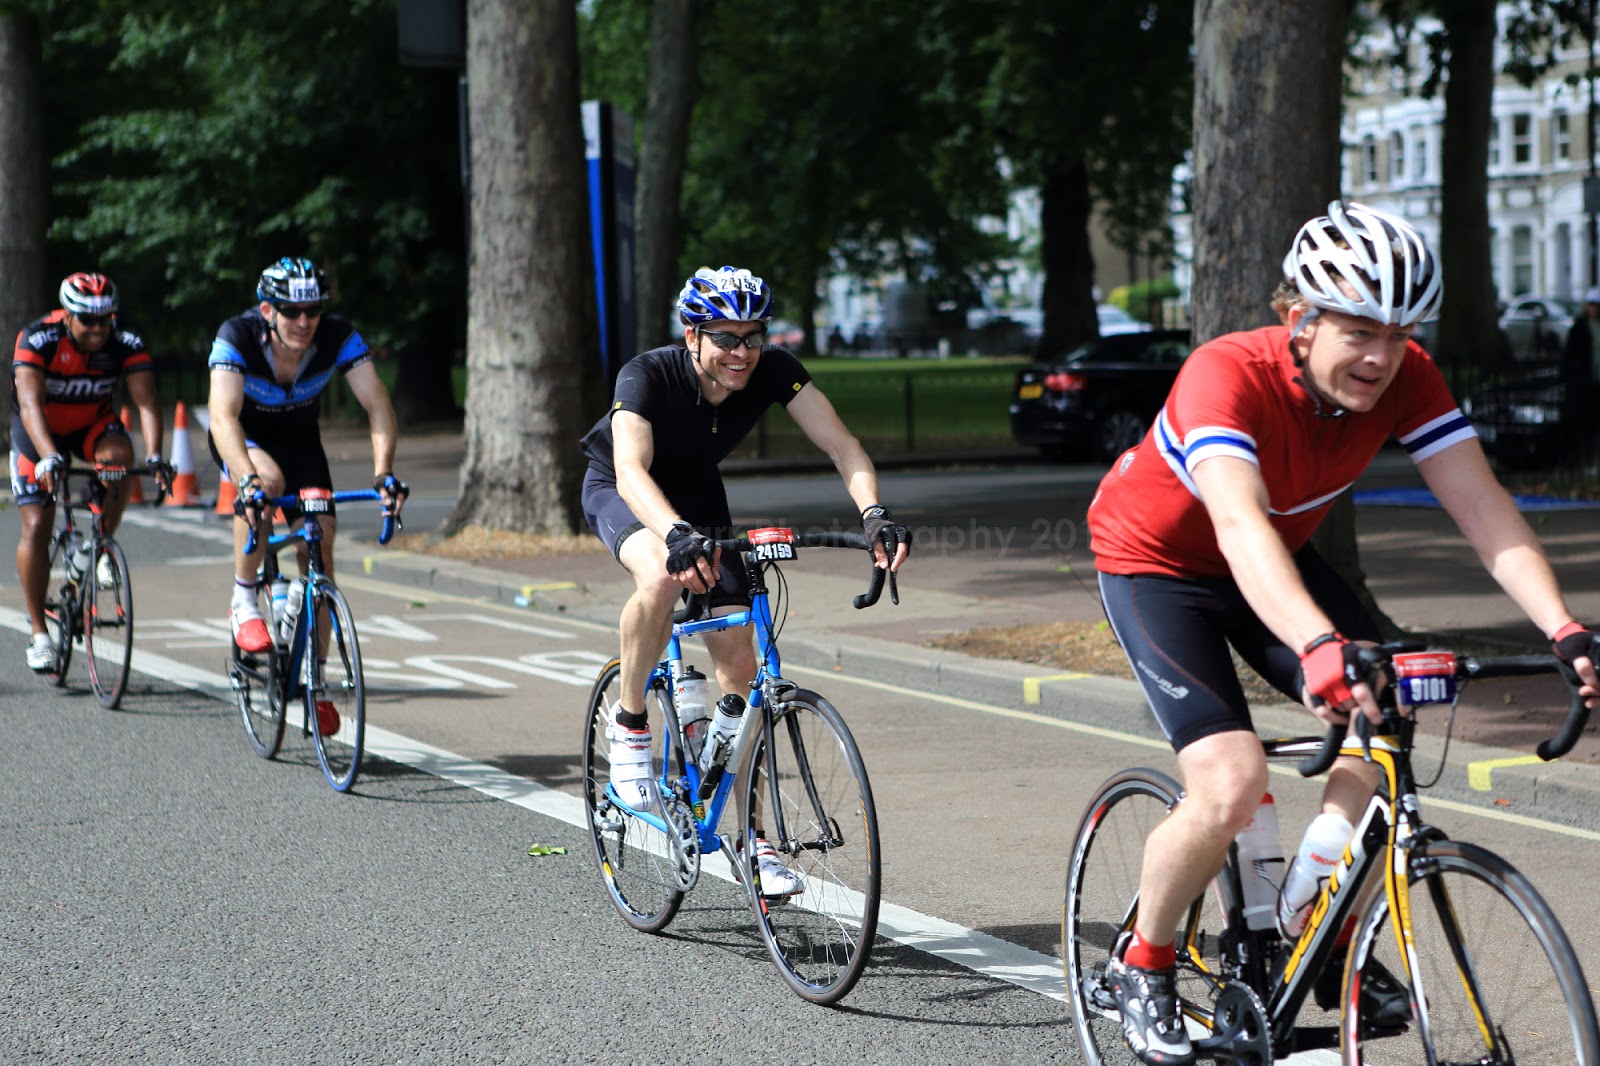
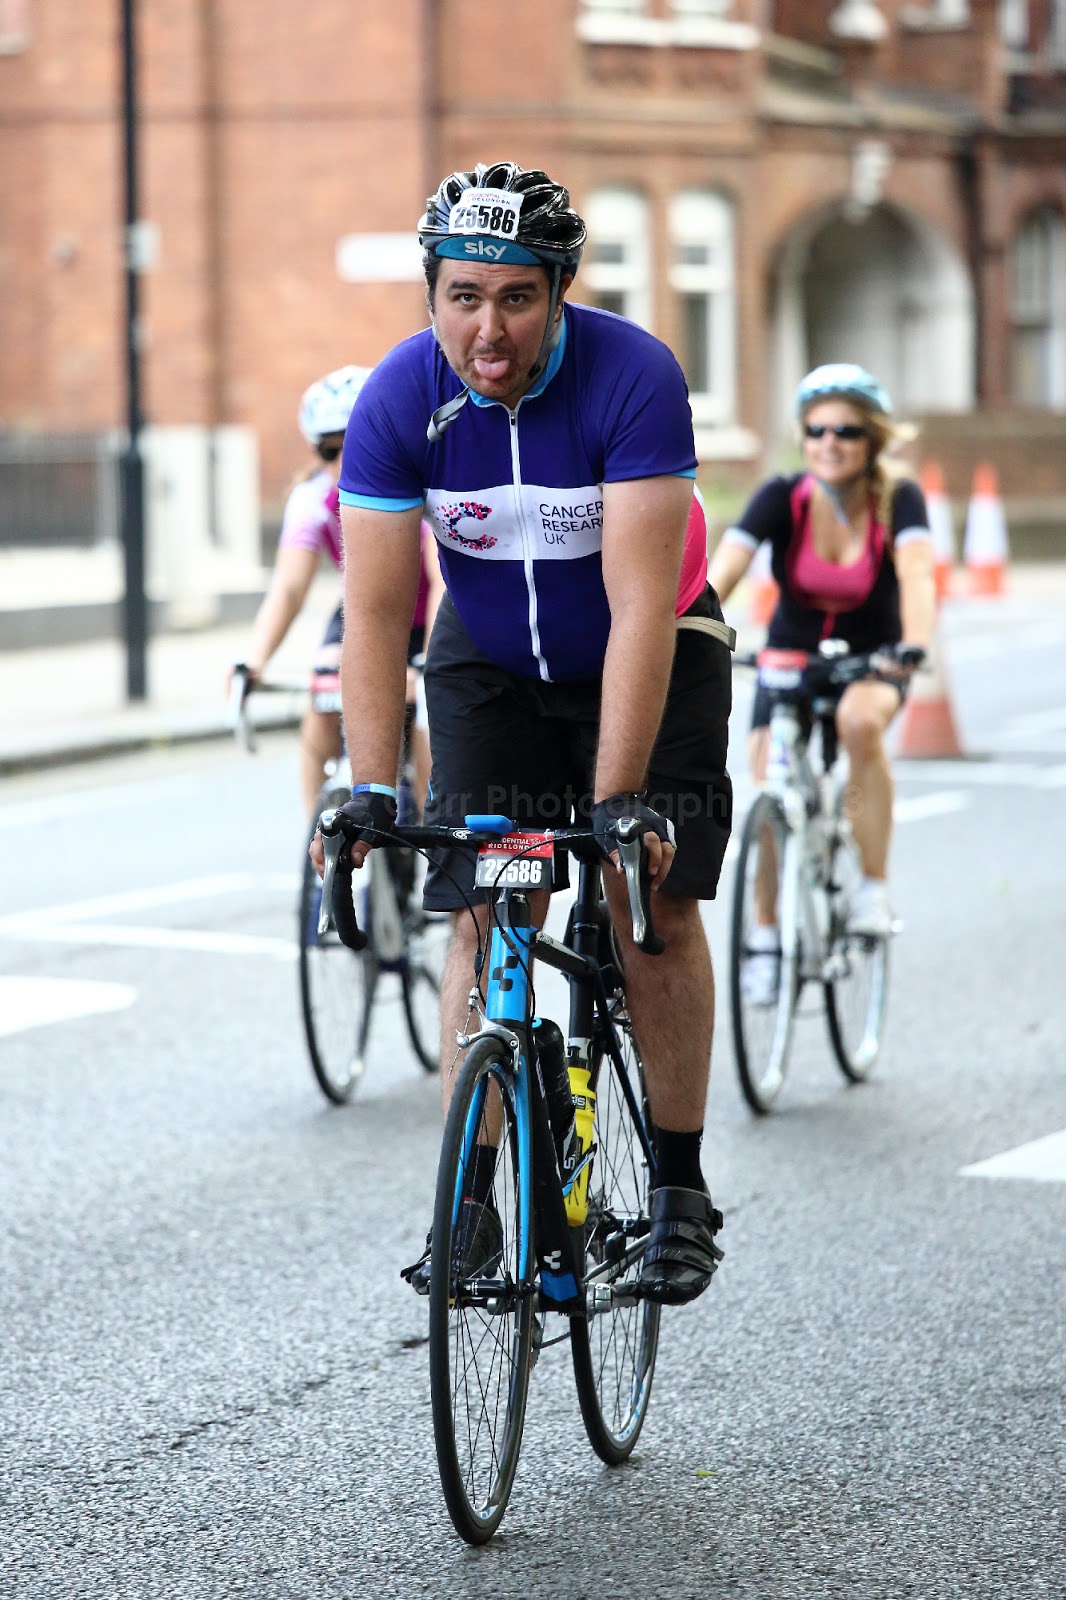
I watched the first group of amateur riders (in the "100" race) going past from the comfort of my sitting room at about 10:05am. At about 10:45am they began coming thick and fast, so I went down to the roadside and snapped away. I chatted to a few volunteers who stood at the side of the road shouting "Gel!" with white-gloved hands dangling mojito-flavoured gel packets. Most of the gel was either missed completely or flew in the air and then to the ground as the rider tried to grab it. There were a few more gel-providers further along the road, so they had the chance to try again. Occasionally the riders would actually get the gel successfully first time. Whatever the result, there was always a "thanks" or "no thanks!" or some other pleasant words exchanged (and the occasional "shit!" if they dropped or missed the gel). Even after 95 miles, the cyclists were still polite and smiling.


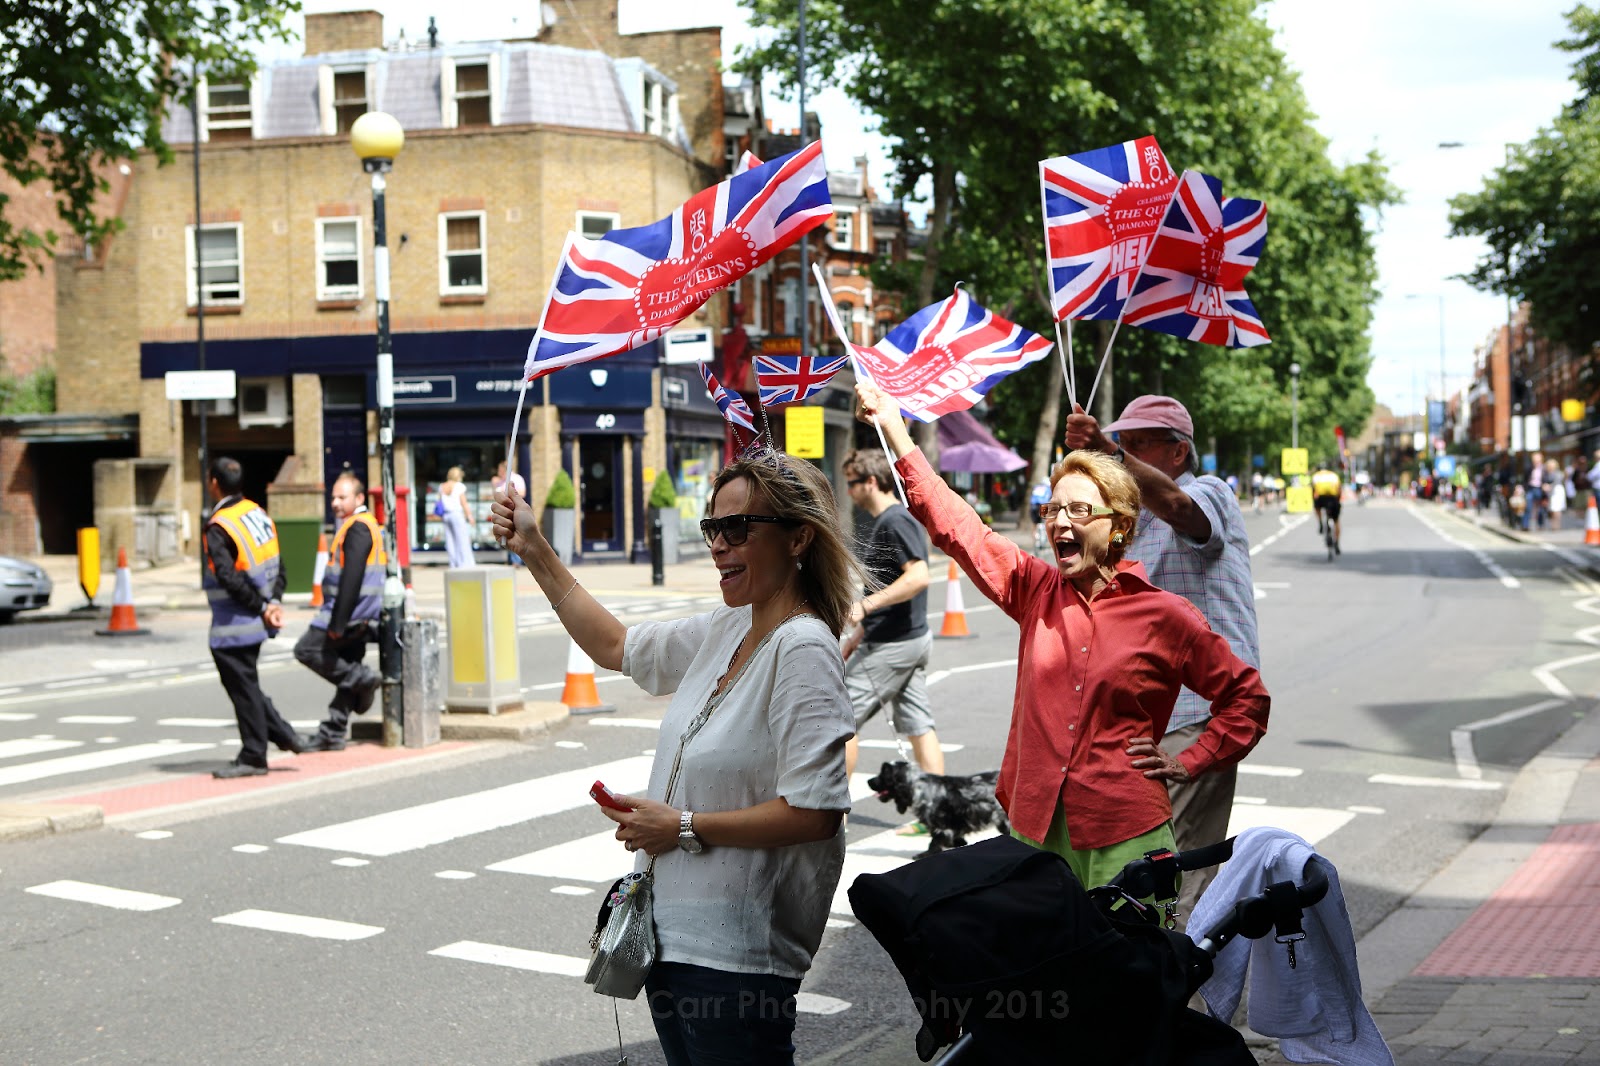
Later on we took the dog out for a walk, the riders still streaming past at a steady pace. There were 20,000 or so competitors, so it was likely to go on for a good few hours with their varying pace. Many drivers had failed to notice the extensive early-warnings about the event and had taken to the roads, forced to turn around as there was no way to get to the other side of the New King's Road until 7:15pm (other than by tube or train or on foot).


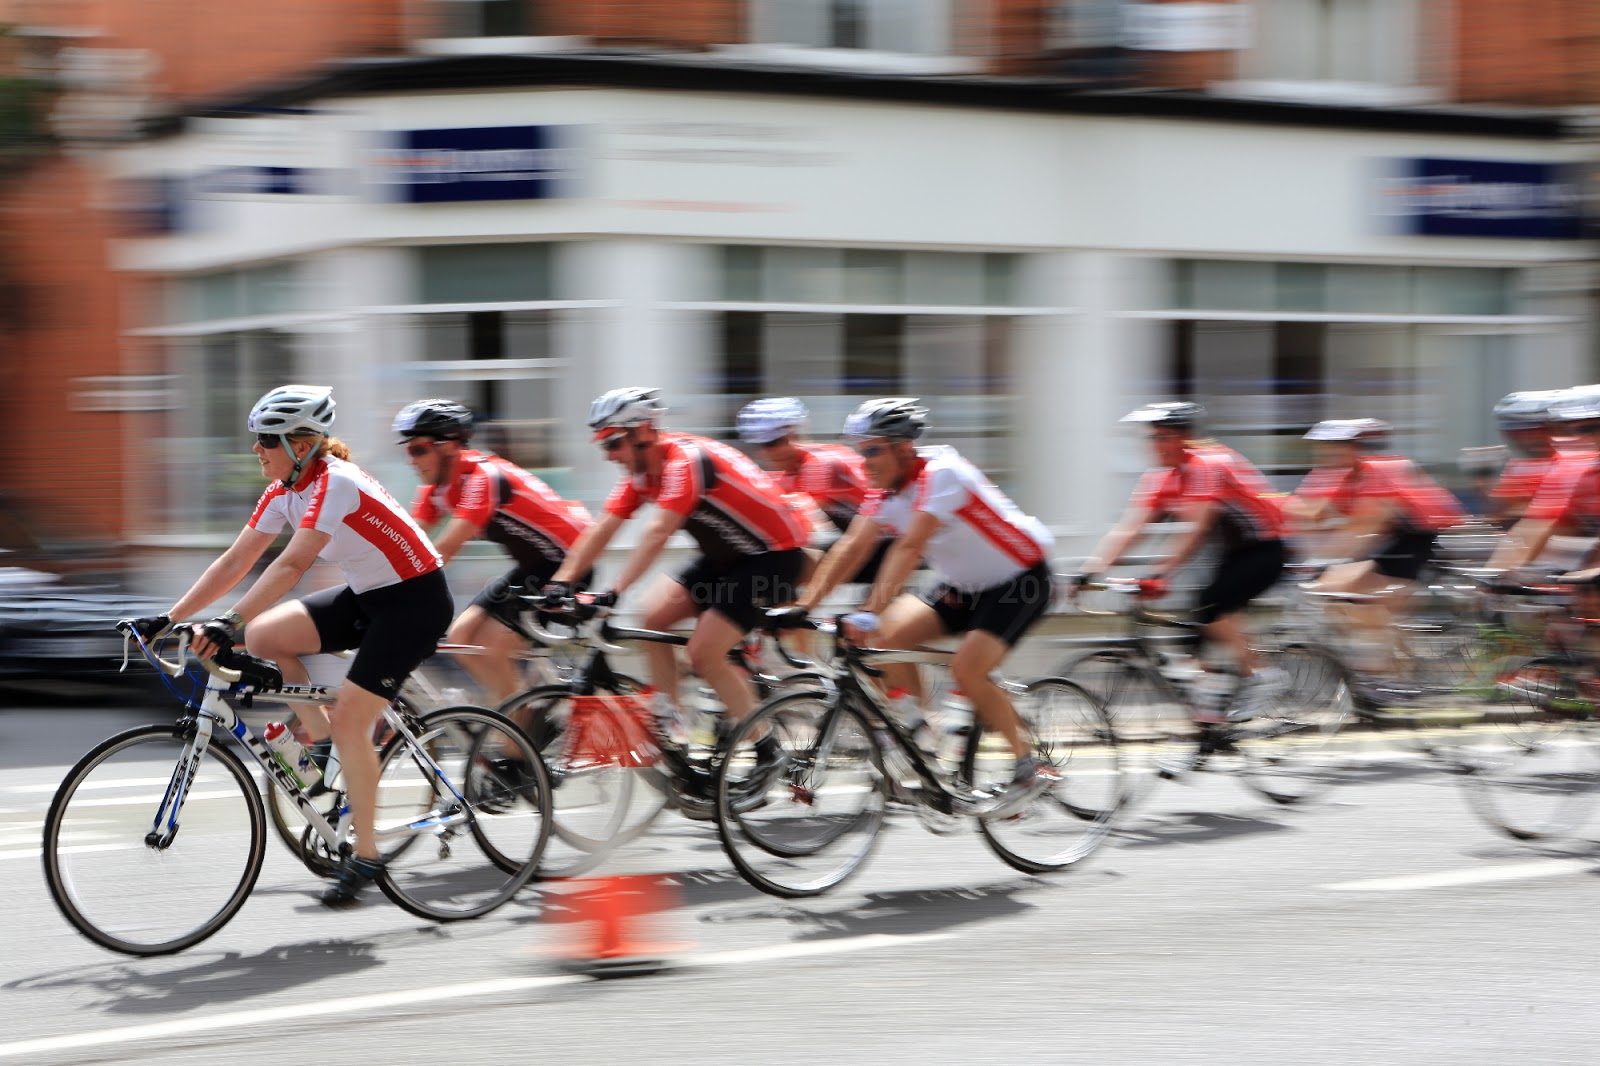
The cafés along the New King's Road were full of locals (who knew not to try to escape by car) enjoying the view. People waited for friends and loved-ones to come past. Teams streaked past together. Everyone was taking photos.


I went out again after lunch with my telephoto zoom lens and got some shots of individual riders - people of all ages, races, shapes and sizes. There were fewer smiles and more and more aches and pains visible, but a huge amount of determination to make the last five miles. One poor guy had to fix a puncture near my house; he was clearly - and not surprisingly - really disappointed, as his time was pushed well back. He still managed a smile for me.


Eventually all the amateur riders had gone, but for the odd straggler. Towards 5:30pm, spectators started coming back out onto the New King's Road again, awaiting the "Classic" race riders (150 elite, professionals). I found a spot in the middle of the road and waited. Endless police bikes raced past, warning us that the cyclists would soon be there. Standing in the middle of the road, protected only by a couple of feeble bollards, I felt a little vulnerable, but it was the spot with the best view (and no-one wanted to crash into me!).

The riders didn't get there until about 5:55pm, in a small number of groups. I completely missed the two front riders, focusing on the peloton, which consisted of over 100 riders. Huge numbers of support vehicles followed each group, stacked with spare bicycles.


Five minutes later three more riders passed by (preceded by more police bikes with screeching sirens), followed by the last small group a couple of minutes after that.


The crowds quickly dispersed, although a few of us hung around wondering if that was it. It was. I'd somehow expected more, but it was only 150 in total (I had to phone my husband to find out how many competitors there were, as it didn't seem that many). I said goodbye to my gel crew and security friends and headed home. It was an amazing event and I'm sure hundreds of thousands of pounds will have been raised for charities. Huge congratulations to all who took part.


For more information about the race, please visit the official website.

The photos above (and more!) are available for purchase on my photography website as prints and personal downloads, with individuals tagged by race number, if visible (if you search by race number any related image will be found).

3 Aug 2013

Breaking the Photography Rules Part 6 - Shooting Out of Focus


Focus is pretty crucial to a decent photograph, so the suggestion to shoot out of focus might seem a bit odd. There are certain times, though, where it can be interesting to play around with and produce some nice results. Just stick the lens on manual focus and play around with the focus ring until you find a level of blur that's pleasing to you. I find it works best with night-scenes (produces coloured bokeh), flowers (look a bit impressionistic), but also some other scenes too (eg. snow falling on trees). The results are usually more art than photographs and whether you like it or not is subjective, but it can give a creative angle to an old view. Here's a few examples from my work.

Pont Alexandre III, Paris, France
Vieux Lyon, France

Snow falling in London

Tulips


Daffodils
Another way in which you can break the rules with focus (but not having everything out of focus), is by focusing on something that's not the usual subject of a picture. A good example of this is to focus on something other than the eyes in a portrait; this works especially well with dogs. I like to try this when photographing my own dog, Henry, as well as others; I particularly like macro shots of dogs' noses with the nose the only thing in focus, as their noses have such incredible detail.

Henry's nose


Red's Nose

See also:    Part 1 - Go Out in the Midday Sun
                Part 2 - Ignore the Thirds Rule of Composition
                Part 3 - Turn it Upside-Down!
                Part 4 - Shooting Landscapes in Portrait Orientation
                Part 5 - Playing with the Zoom

2 Aug 2013

Breaking the Photography Rules Part 5 - Playing with the Zoom

A basic rule in photography is to get an image in focus and sharp (or at least the desired part of it), keeping the camera and lens static while the photo is being taken. Occasionally, though, I try to ignore this rule and experiment with moving the camera &/or lens while shooting. I wrote an earlier blog about panning, where you pan the camera in order to freeze a moving object (against a seemingly moving background). It's also fun to experiment with moving the zoom lens itself, but keeping the camera still, when photographing a static object; the results can be quite eye-popping!

Firstly you'll obviously need a zoom lens in order to do this. Exposure length needs to be long enough to be able to physically move the lens. The shots I took below (at night) were at 0.8 or 0.6 seconds respectively; if you're shooting during the day you'll need an ND filter to reduce the light and allow you to expose for longer. You'll need to focus on the subject first (using back-button focusing is helpful), then press the shutter and then move the lens - either in or out - quickly but smoothly (the smoother the better). It takes practise and the shots might look jerky or strange. Whether you like the result will be a matter of taste and the effect won't work with many subjects. These two images were my favourite ones of Rome's Colisseum, where I tried out this technique a couple of years ago.


I was using a wide-angle (10-22mm) lens on my old Canon 400D and shot at f/4, ISO 400. I did have to do a little cloning on the first image to remove an ugly light trail that just didn't look right in the shot - this is a hazard of the method. The Colisseum is an often-photographed building and photographs can sometimes look a bit dull, like the one below. I think the magnificent structure lends itself to being zoomed, given all those wonderful arches!

I haven't done much playing around with the zoom like this - but writing this has reminded me how much fun it can be, so it's something I'm going to set myself to do over the next week! I'll be on the look-out for scenes/buildings with which it might work.

Coming Soon - Breaking the Photography Rules Part 6 - Shoot Out of Focus

See also: Part 1 - Go Out in the Midday Sun
                Part 2 - Ignore the Thirds Rule of Composition
                Part 3 - Turn it Upside-Down!
                Part 4 - Shooting Landscapes in Portrait Orientation
                Part 6 - Shooting Out of Focus

Please visit my website - www.sophiecarrphotography.com

1 Aug 2013

Breaking the Photography Rules Part 4 - Shooting Landscapes in Portrait Orientation (& Vice Versa)

Landscape orientation is called that for a reason; most photographs of landscapes are shot in the landscape format, as this is the best way to fit in a wide sweeping view of a landscape, usually with a swathe of sky above. Sometimes, though, shooting landscapes in portrait orientation (ie. vertically) works very well. It can be used to provide interesting layering where the landscape changes, where there's something interesting in the foregound, it can highlight unusual features and patterns, it can provide room for a feature such as a river to flow towards you and it can allow you to include more of the sky. Sometimes it can just help with better composition overall, where a landscape orientation just doesn't do it.

Here's a few of my own examples of where I think the portrait orientation really works:


Similarly, portrait orientation is called that for a reason too. Most photographs you see of people are taken in portrait mode, with the head showing as well as a small amount of the neck, chest and shoulders. Sometimes, though, I think that portraits of people (and dogs) look great in landscape orientation (ie. horizontal). It can give the person somewhere to look, it can show depth, it can accentuate the features (especially the eyes if you get in closer), it can include a bit of atmosphere in the background and it can work if a bit more of the body is shown. Here's a few examples:


See also: Part 1 - Go Out in the Midday Sun
                Part 2 - Ignore the Thirds Rule of Composition
                Part 3 - Turn it Upside-Down! 
                Part 5 - Playing with the Zoom
                Part 6 - Shooting Out of Focus