Showing posts with label Arctic. Show all posts

21 Jul 2014

Midsummer in the Lofoten Islands


I've seen the midnight sun before a few times, and there is something exciting about it to begin with. For a photographer, however, it's not the best time of year to visit the Arctic - unless, that is, you enjoy staying up all night. The days are bright (if there is any sunshine, of course) and the golden hours come between 10.30pm and 3.30am - not the ideal time for any normal being. There is no dawn or dusk, no blue hour, no dark skies. But I didn't visit the Lofoten Islands over midsummer for a dedicated photography trip; it was a last-minute holiday grabbed with my husband, and we both enjoyed it very much - speeding ticket aside, so I mustn't complain too much.

Crepuscular Rays over the Norwegian Sea at Kvalvika Beach

The Lofoten Islands are a small chain of islands just north of the Arctic circle in Norway, with magnificent peaks that jut out at steep angles from the sea. Getting there is no easy feat - requiring at least an internal flight from Oslo, and then either a long drive in an expensive rental car, another short hop in a plane, or a not-very-conveniently-timed boat-trip from the mainland. We chose the first option, flying from Oslo into a little airport called Evenes or Harstad/Narvik, from where we rented a car, stayed overnight in Bogen nearby, before embarking on the long drive south-west through Hinnøya (Norway's fourth-largest island) before arriving in the Lofoten Islands themselves.

The view from our hotel, Evenes Fjordhotel, near Bogen
We spent our second night in the town of Svolvær, the largest settlement on the islands, after driving for a few hours through pleasant scenery. Svolvær is a nice-enough town with an array of impressive mountains in the distance (including the islands' highest peak - Higravstinden, at 1,161m), a harbour, a few restaurants, some swanky hotels, and place to take boat-trips around the surrounding fjords. We took a drive around the area, stopping at the local aquarium to see the bizarre-looking wolf-fish, before taking a loop drive around the northern part of Austvågøya past the lighthouse at Laukvik. The weather had deteriorated as the day had gone on and the peaks were now shrouded with an ethereal fog. Our fingers froze in the fierce cold winds at the lighthouse. About 20km before getting back to Svolvær we were pulled over by a traffic cop hiding in a driveway behind a bush and fined a whopping 4,200 krone (about £420 or $715) for driving 66kmph in a 50. It somewhat ruined Svolvær for us, and we were glad to leave the following morning (having gone through the arduous exercise of actually trying to pay the damned fine - you have to pay cash at the police station - they don't accept foreign cards).

Laukvik Lighthouse
Misty hills on the north side of Austvågøya 


The view from our hotel, Thon Lofoten, in Svolvaer

On the way south the road goes through endless tunnels and over steep bridges. We made a short stop at Unstad beach, not far from Leknes - the other reasonable-sized town - on the way to Hamnøy, where we had rented a rorbu (fisherman's cabin) for 4 nights. At Unstad a surf-lesson was going on, and I took a few long exposure shots of massive rocks at the far edge of the beach, with the sun peaking out briefly.

Long exposure at Unstad Beach

From there we continued onwards, but our journey was slowed considerably by summer roadworks on the road just outside of Hamnøy. The road is being rebuilt, with massive open-sided tunnels being built to protect the road from the frequent boulder falls from the mountains above. The road is closed for about 15 minutes while they blast a few rocks, and then each line of traffic is guided through in turn. Throughout the summer nights they close the road between 11pm and 1am and then again from 2am until 5.30am while they continue working in the available light. I hope the works will be finished soon, as it definitely impedes one's ability to explore the area.

We spent our first full day hanging out in the delightful rorbu (see my earlier blog on our first rainy day there). Wifi helped us while away the hours, and I did manage to get a few shots of the mountains across the fjord, in spite of the horrible weather. The winds rattled the rorbu but we felt safe and snug inside. Gulls struggled to stay on their feet on the rocks outside the cabin.

Looking out at our neighbours as the rain fell...

A large herring gull tries to stay upright in the gusty winds
The sun briefly came out in the early evening over Lilandstinden, one of the peaks above the cabin.
 

The following day the weather was considerably better so we did a wonderful hike up from Sørvgen to the Munkebu Huts (thanks to Cody Duncan and his wonderful site www.68north.com for all the detailed information about hikes in the Lofotens). It took us a little longer than anticipated and skies cleared as we reached the huts. The hike back down was glorious - the views throughout the trek are fantastic.

Some hikers below us on the way down from the Munkebu Huts

Murray crossing some late snow just above the Munkebu Huts
One of the many picturesque small lakes on the way up to the Munkebu Huts 
A view down to a bridge on the E10 between Reine and Sørvågen


When we returned from the hike the sun was just above the Olstind peak opposite the cabin and poured spectacular rays across the hills as it moved slowly northwards.


The next day we decided to do an evening hike to Kvalvika beach, hoping to catch some real midnight sun (although it doesn't actually face due north, so it wouldn't have happened anyway!), so we took it easy during the day and headed back down to the charming village of Å, at the end of the E10, where we had a short stroll and then managed to locate the bakery and scoffed a couple of their delicious cinnamon rolls, chatting to a couple of intrepid young American guys who were travelling around the region by public transport, and camping along the way.

Picturesque traditional buildings in Å
Delicious cinnamon rolls at the bakery in Å, part of the museum there
We set off towards Kvalvika in the late afternoon - via the laborious roadworks - and ate in Ramberg, a pleasant little place with a long white beach. Heavy clouds sat above the hills in the direction that we were planning to hike.

The long expanse of white sand at Ramberg

We then drove back and across the bridges towards Fredvang, where we parked the car and set off on our trek. To get to Kvalvika beach you have to hike up about 200m, taking about an hour, before a steep hike down to the beach. It is worth it, though, as it's quite an impressive beach, split into two with some boulders inbetween. The sea was an incredible green colour, only visible at its best briefly as the sun peaked through from the clouds. My husband explored each beach (finding a few plastic bins and fish containers from random towns in the UK) while I set up the tripod and took a few long exposure shots (my favourite!). There were some pretty crepuscular rays seeping out over the sea, but the midnight sun was not going to appear.

Even without sunshine the sea appears amazingly green. This is the northerly of the two beaches at Kvalivka; 25 second exposure
After clambering across the rocky area between the two beaches I took a few long exposures of the southerly beach at Kvalvika; this is a 1.3 second exposure


By the time we'd left the beach and climbed the massive hill the golden hour had arrived, although the sun was still behind clouds to the north. The views from the pass were lovely in both directions.

Nice light looking back over Kvalvika beach once we reached the top of the pass 
Sunset light over the mountains to the east seen from the top of the pass on the way back from Kvalvika

Once we'd got back down the other side we'd already missed our window-of-opportunity to reach the road while it was open. We took a drive around a few fjords to kill time, knowing we needed to be back at the edge of the roadworks between 1 and 2am in order to get back to bed, so we couldn't go too far. We drove to a quaint little fishing village called Nusfjord where I took a few shots at midnight, before driving back, waiting to pass the works, and finally getting home at about 1.30am.

Picturesque Nusfjord at midnight

On our last full day in the islands we checked out of our lovely rorbu - nearly leaving our delicious juniper-smoked salmon in the fridge - and drove north-east again, stopping at the picturesque Haukland beach. The beach is also split into two parts and has pure white sand, and the sun actually came out while we were there. It was one of the prettiest beaches I'd ever seen - like a tropical beach but without the palm trees (and a wee bit colder too!).

The stunning Haukland beach


We continued through Leknes where we stopped for a delicious lunch of bacalao and fish curry at Johnsen's Fiskerestaurant. We hadn't know about the place but stumbled upon it - what a find!

Delicious bacalao - a tomato-based stew made with salt cod - absolutely yummy!

We continues on to Henningsvær, another pretty fishing village with a backdrop of jagged peaks, via a lovely back-road with very few other cars around. Most of the Lofotens actually seems quite built-up, with houses dotted every few km along the E10 main road. It was nice to get off the beaten-track and feel a bit more remote. There were also far fewer Dutch camper-vans along that stretch.

We ate in a smart restaurant in town and finally tried a dish of semi-rehydrated stockfish (the dried cod that we'd seen hanging everywhere throughout the islands). It wasn't particularly nice, but we managed to eat most of it it! It was a nice little village to wander around, with typical old Scandinavian houses dotted around a couple of islands, connected with bridges. The place has lots of fishing and sailing boats, as well as being a centre for rock-climbing in the area. It also has a fantastic modern art gallery, which we visited the following morning before heading back to the airport, in an old converted caviar factory (Kavi Factory). Throughout the town one can also spot stencil graffiti by a local artist (Pobel) - a little bit like our own Banksy.

The view of Henningsvær from our hotel, the Finnholmen Brygge

Chairs outside the Kavi Factory in Henningsvær

A stencil graffiti work by the local artist Pobel, seen in the toilet in the Kavi Factory art gallery - worth nipping inside to have a look!

The drive back was long and slow - we didn't dare drive a km over the speed limit after the earlier incident, and in retrospect it would have been more efficient to fly into Bodø and then fly into Leknes from there, but I booked it in a hurry and didn't have time to do much research. While the scenery is still mountainous on Hinnøya it's certainly not as spectacular as the Lofotens themselves and the drive is a bit tedious at 80kmph (although there are a few stretches as you hit the mainland where it increases to an almost normal speed of 90kmph!).

I'm considering returning for my winter photography trip, to see the islands in better light, with snow and ice, with the golden hours at a reasonable time of the day, and of course with a chance to see the northern lights over the stunning peaks. I'm not sure if I can keep away from Iceland, though! We shall see; it's a long time until next March...

Six minute exposure of the view from our cabin, Thomas Bua (no.1) at Eliassen Rorbuer, taken at 12.35am

More photos fro this trip can be seen on my website.

22 Apr 2014

Capturing the Northern Lights

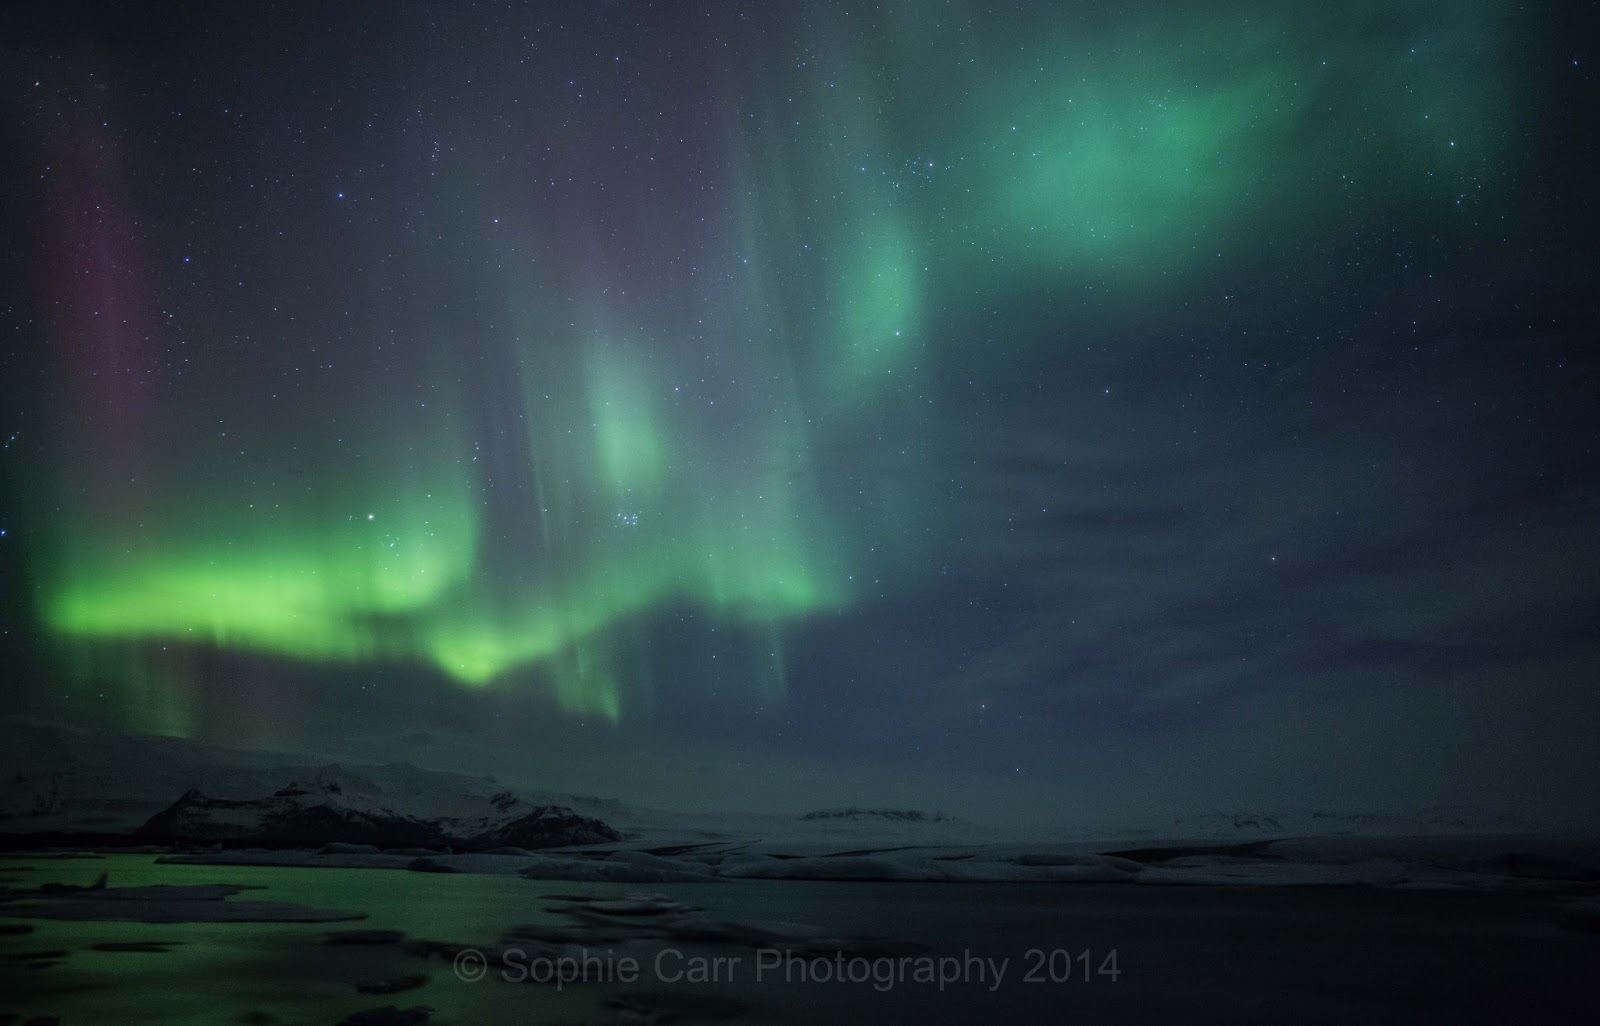
I was recently lucky enough (after lots of trying) to see the aurora borealis, or northern lights, in their full glory in south-eastern Iceland. I've seen them on a number of occasions, but the first time I saw them properly was six years ago in Sweden, when I had neither the equipment (an entry-level SLR with lousy low-light noise, a point-and-shoot and no tripod) nor the technical know-how to capture them. Since then I've learned a lot and upgraded my equipment, allowing me to be ready should the skies clear and the lights present themselves. I got a little bit of practice on my last trip to Iceland, but this year was when I really got to put the gear and the knowledge to the test.

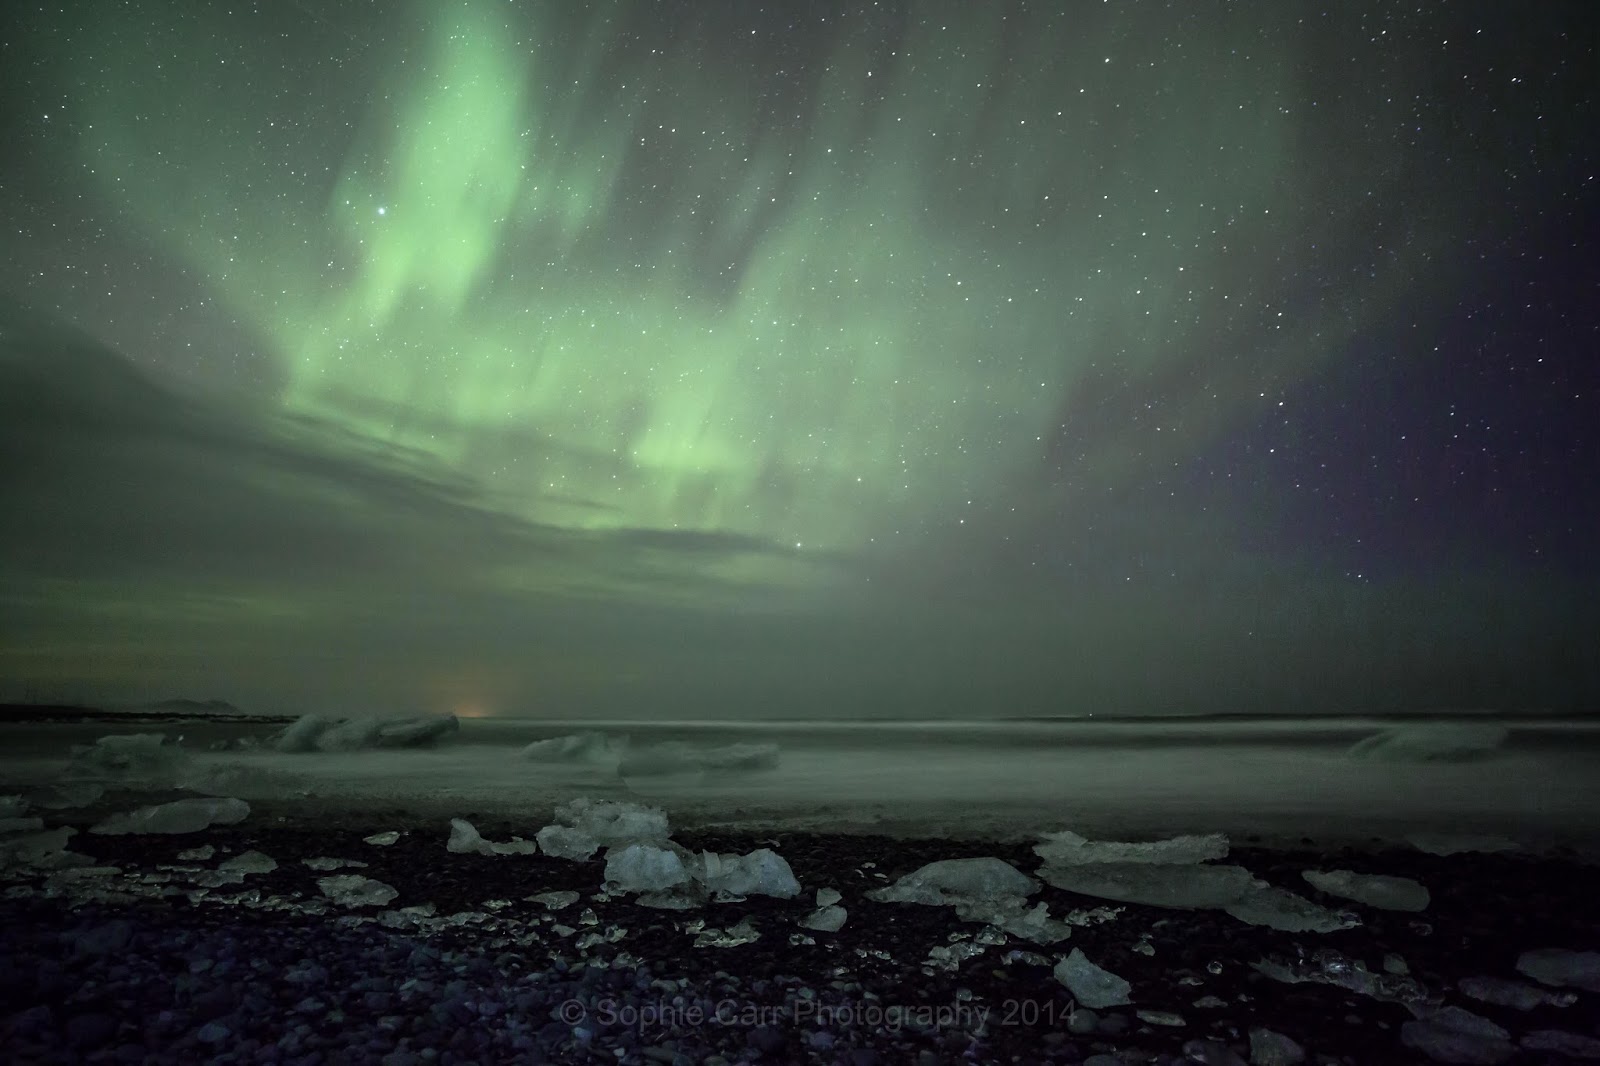
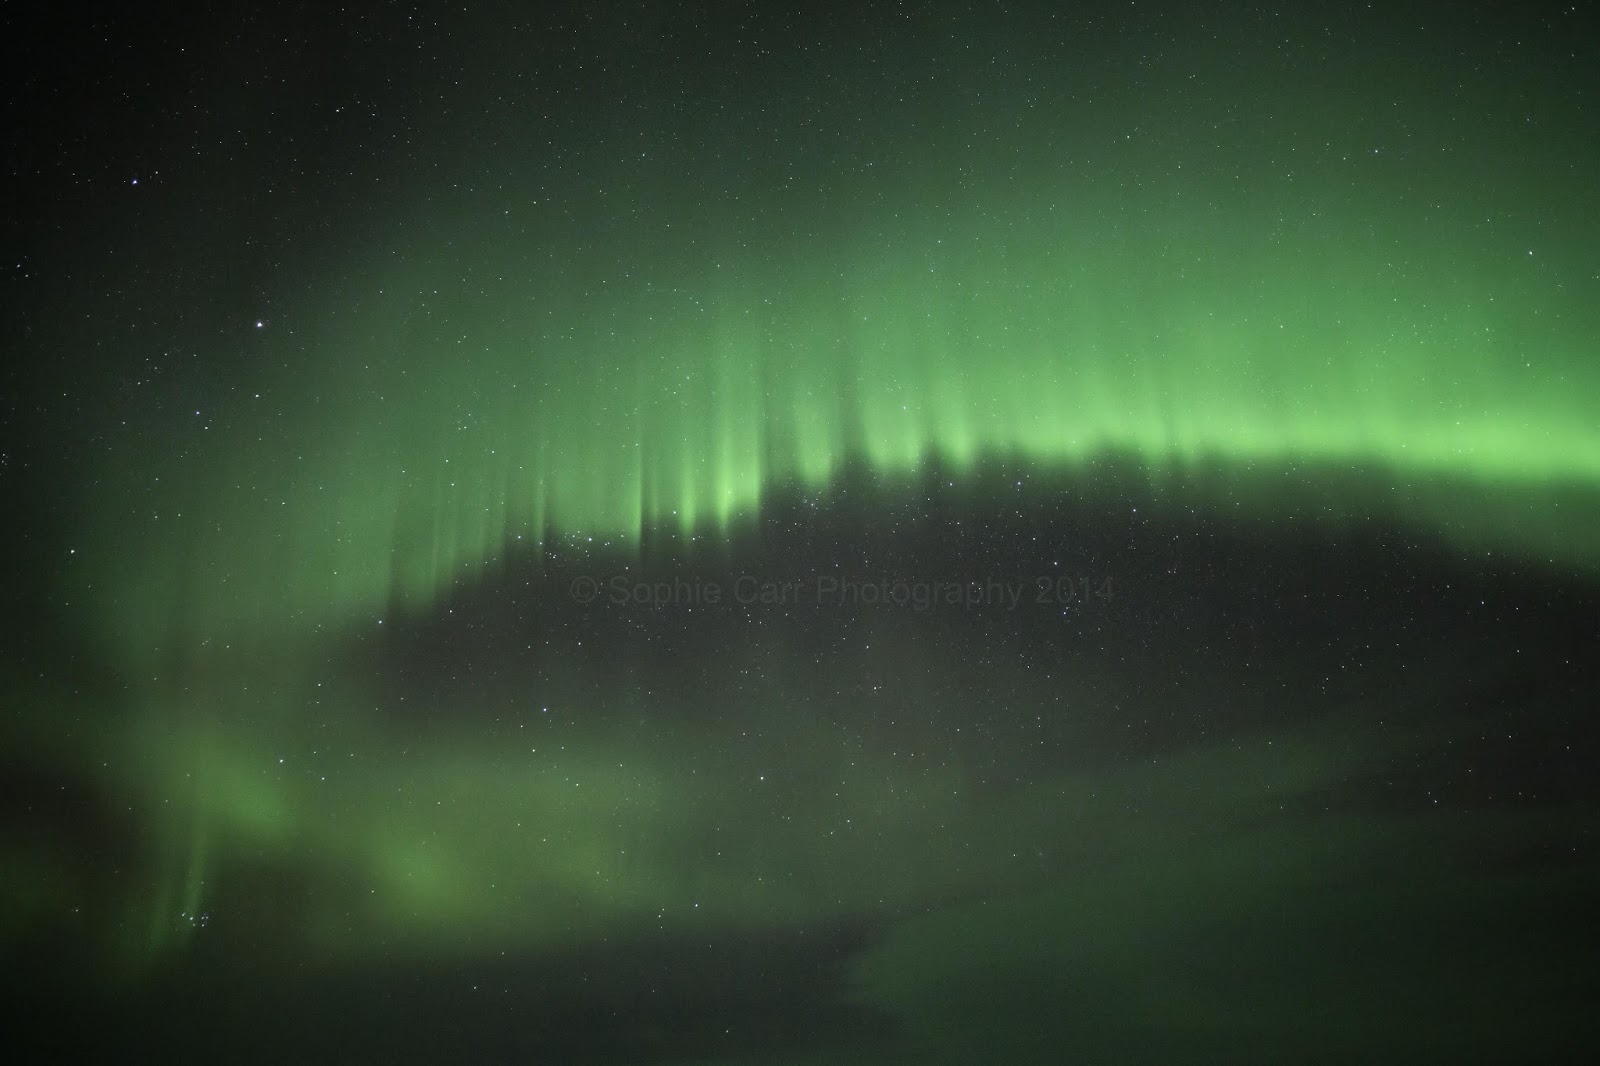
ISO 2500, f/2.8, 25 secs   


I learned a fair bit from various other blogs that I dipped in and out of, so thought I'd reciprocate and give a few basic tips - from useful equipment to useful techniques.

EQUIPMENT TIPS

1) Tripod
Every shot you will take will be a long exposure, so a sturdy tripod is an absolute necessity. I guess you could rest a camera on something, so a beanbag might do. But take a tripod. Make sure you tripod is sturdy enough to hold the weight of your camera and lens (I have a lightweight one which is handy for hiking but useless for holding my 5D with a heavy lens, like the Zeiss I rented or the Canon 24-70mm I have).

2) Warm clothes
Northern lights are visible in the higher latitudes of the northern hemisphere when it's dark - usually from the autumn to the spring equinoxes. It is possible to see them all year round if it's actually dark, but the further north you go, the less darkness you get in the summer. In order to see the lights, it also has to be clear (or a bit cloudy, in which case you may get a glimpse through the cloud). As a result of all this, it's likely to be cold - often extremely cold, so waiting for the lights to appear may be a rather chilly business. A warm car is helpful while you're waiting, but once you actually start to see the lights it'll become addictive and you'll be out for some time. Take a lot of warm clothes - lots of thermal under-garments, thick socks and warm gloves, hats, scarves, down, etc.. Don't underestimate how cold it can be. You don't want to have to curtail your photography (or just enjoyment of the spectacle) because you didn't wrap up warm enough. No amount of warm clothes will keep you warm for hours, so eventually your feet will freeze and you'll give up for the night.

3) A camera with good low-light capability
In order to capture the lights you need a camera with great low-light capability, so not too much noise at high ISO levels. I have a Canon 5D Mark iii which certainly has this feature. If you're going up to the arctic in winter and don't have a decent camera, it might be worth renting one, which if you shop around might not be as expensive as you think. Otherwise, a mid-range DSLR will probably be adequate, but you'll have more noise to deal with in the shot (which might make it look grainy).

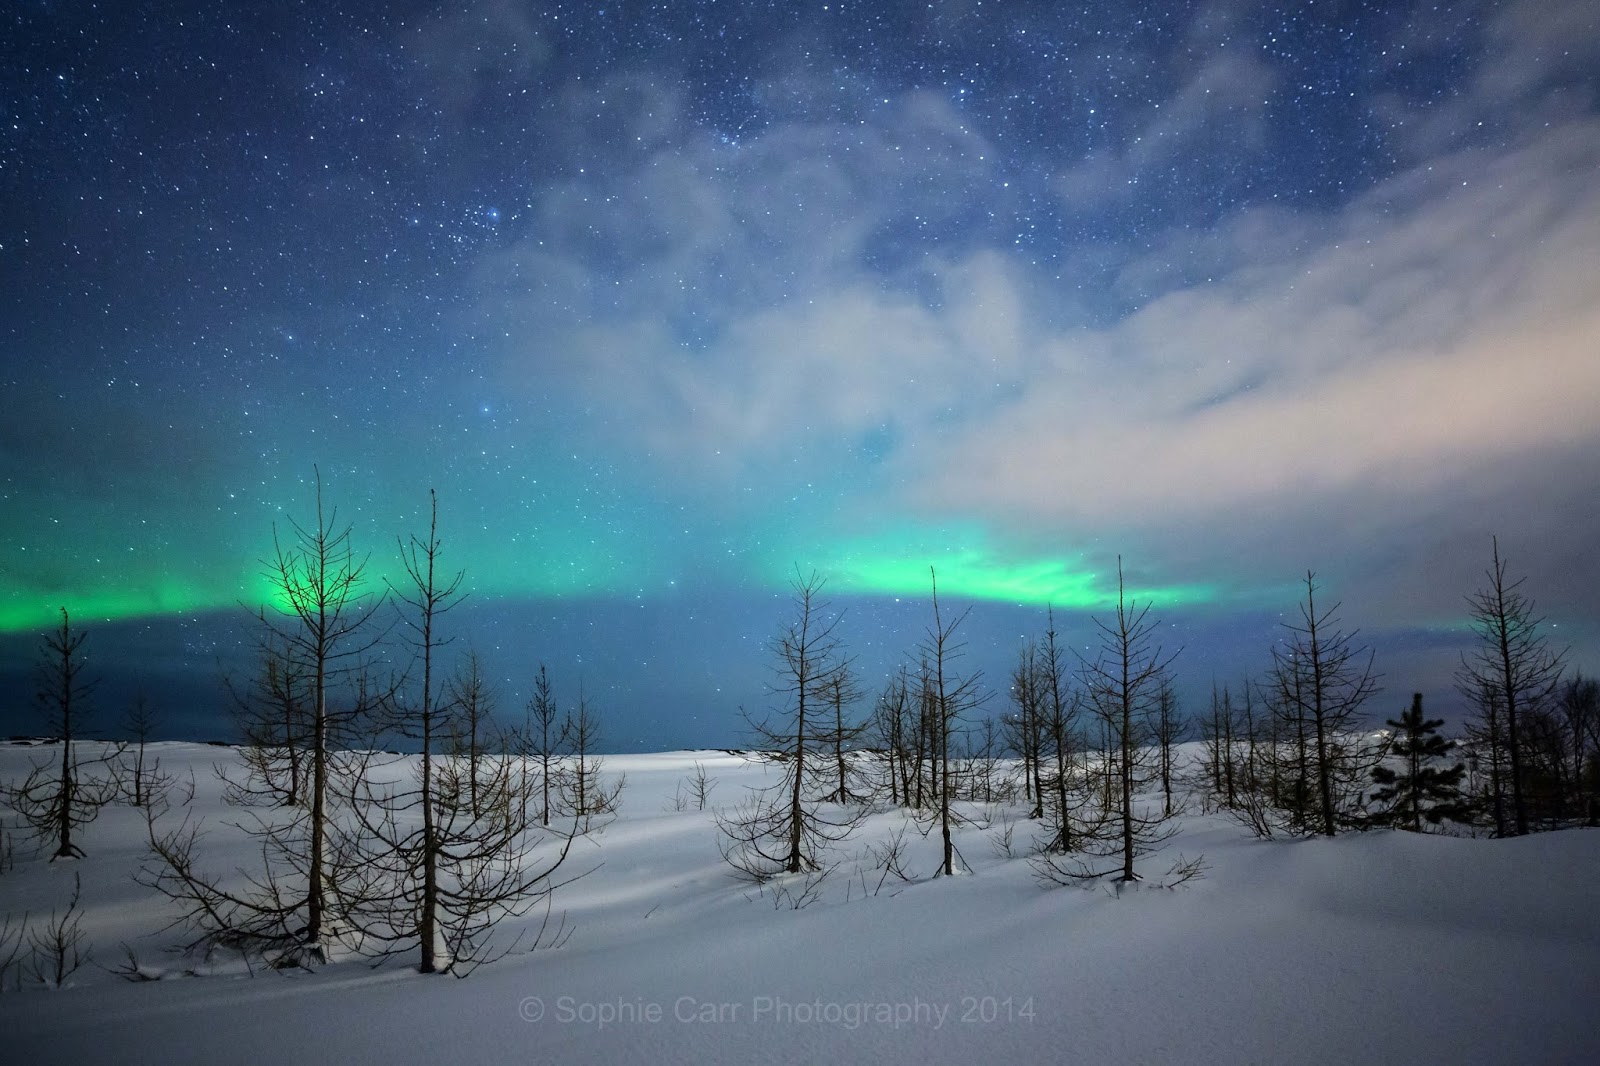
ISO 2000, f/8, 8 secs  
4) A fast wide-angle lens
As well as a camera with good low-light capability, you will also want as wide a lens as possible, with as low an f-stop as possible, in order to let as much light in as possible in as short a period of time. The wide-angle will be useful to capture a sky full of lights and stars, as well as a bit of foreground to add some interest. Again, if you don't have such a lens, consider renting one (I rented a Zeiss Distagon 21mm f/2.8 lens from lensesforhire.co.uk and was extremely glad that I did!). Obviously such a lens will be good for all round landscape photography too, which if you're in a country that gets northern lights, the chances are the scenery will be pretty nice in the daytime too. During my research for lenses, I learned about a thing called coma which is where stars are a bit blurry - the better the lens, the less coma you're likely to get. I didn't get this with the Zeiss. If you're not blowing up the photo it probably won't matter too much, but just something else to bear in mind.

5) Torch
You'll be fumbling around in the dark to get set up, so a head-torch (or flashlight) is a great little accessory to have with you (don't rely on your iPhone torch as the battery will probably run out and you might not have a spare hand!). The torch can also be used for shining on something to try to focus (if it's close) and also to do a bit of light-painting - lighting things up briefly in the foreground (be sparing with this!). If you're near a road a car may drive past and do this for you...

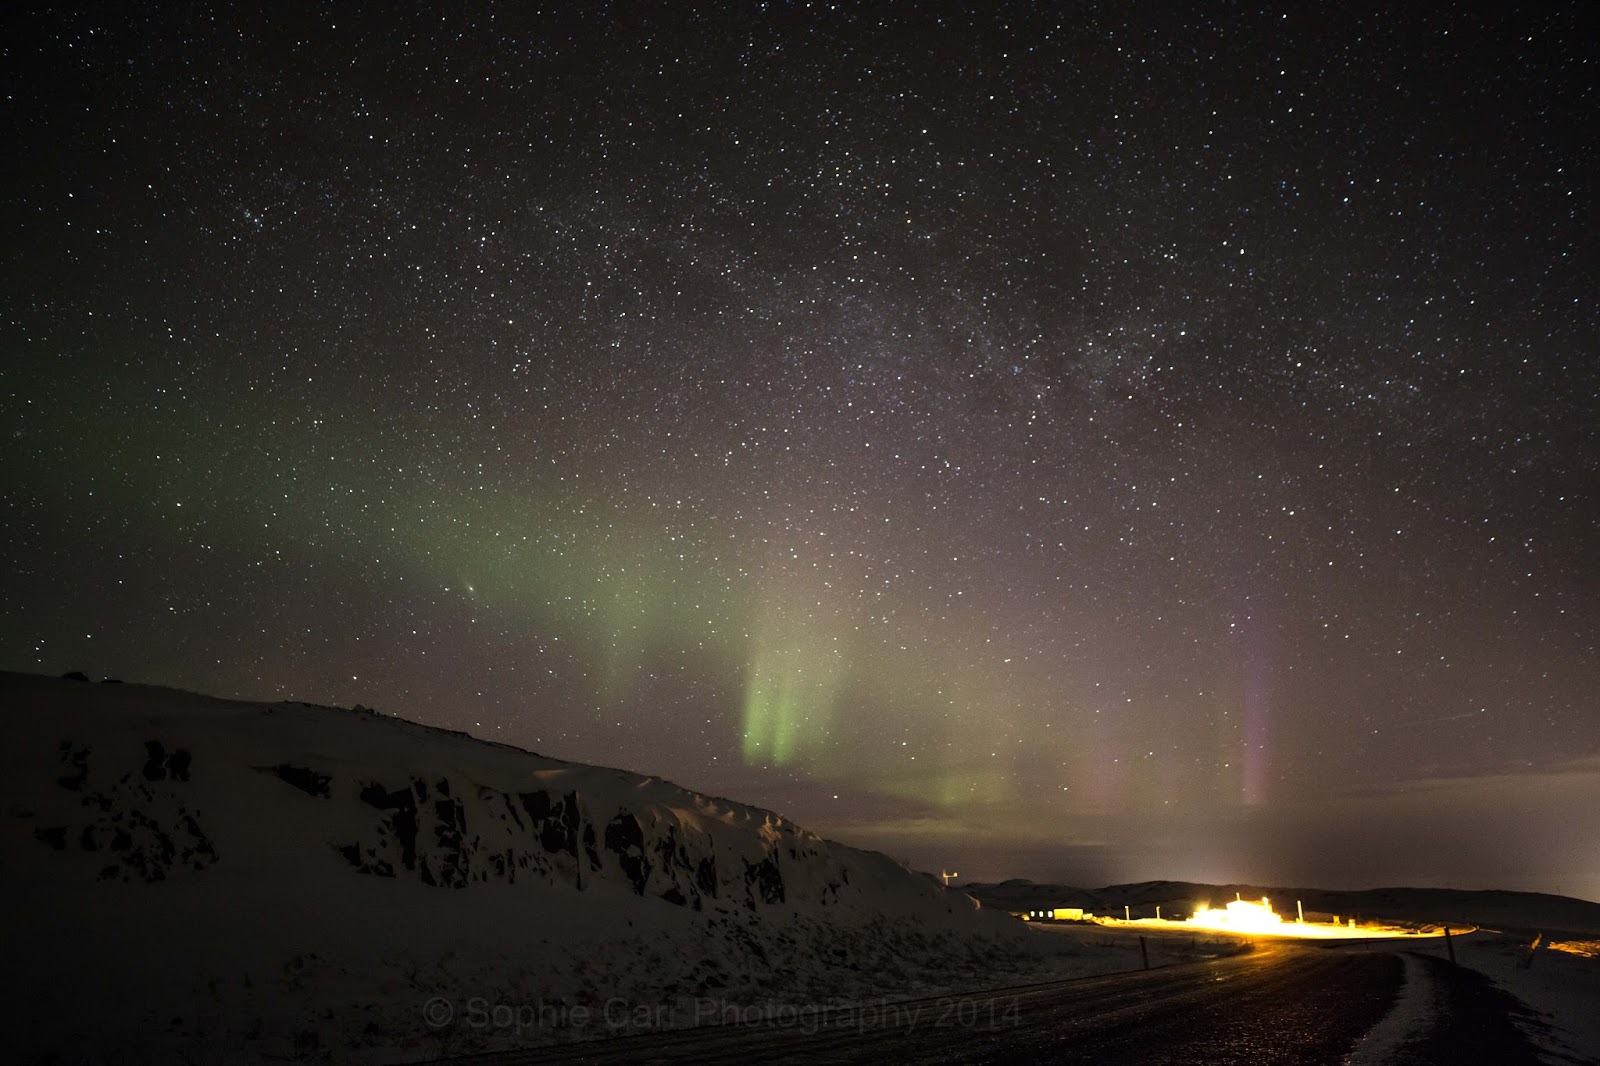
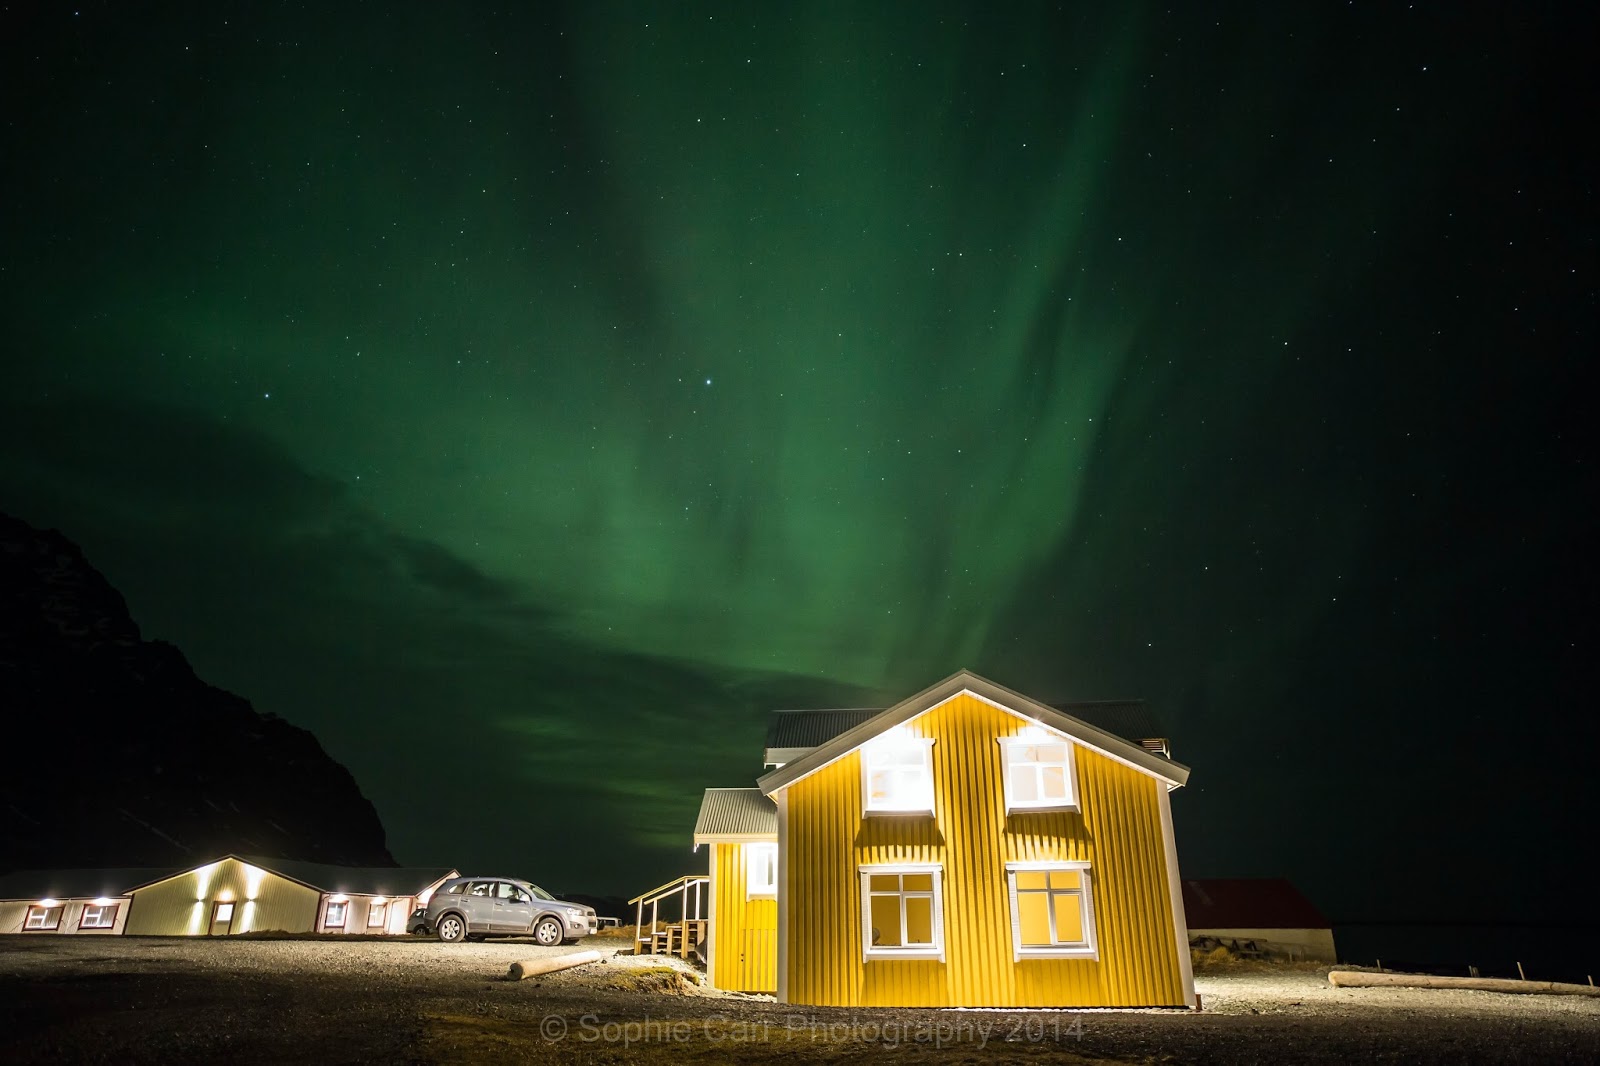
ISO 1600, f/2.8, 20 secs (with car driving past)

6) Spare batteries
Batteries wear out more quickly in the cold, but also if you're doing long exposures, so make sure you're fully-charged before you set out and have a spare or two. Consider the non-branded ones for cheapness, but remember that they also don't hold their charge as long (in my experience anyway). I also got a car-charger this year, so was able to recharge batteries as I was driving along.

TECHNIQUE TIPS

A lot of this will come down to practice, the available light and your equipment, but here are a few tips on technique.

1) Get to know your camera, lens and its focus
It's impossible to focus properly in the dark, so it's a good idea to play around with the infinity end of the lens to get an idea of where you'll need to focus (and set it to manual, otherwise the poor thing will whizz in and out trying to focus but failing to!). If you focus on infinity itself, it's likely that any foreground will be out-of-focus; the focus spot for distant landscape will probably be just a fraction before that. If you've got something closer in the foreground, obviously you'll need to move off the infinity marker even more and a good torch might help to focus it (it's tricky!). Once you start shooting you should review a few images, zoom right in to make sure they're in focus, and try again if not until the landscape looks sharp. Also play around with the ISO settings inside in a dark-ish room so that you can see what kind of noise each high ISO produces. Also google it, to see what other people say about the camera!

I've seen it recommended to scope out a location during daylight hours, and mark the focus on your lens. The problem with this is that the lights may then turn out to shine in a different place, leaving your plan in shreds. And you may forget the marked spot on the lens, since you'll probably take more shots in the meantime.

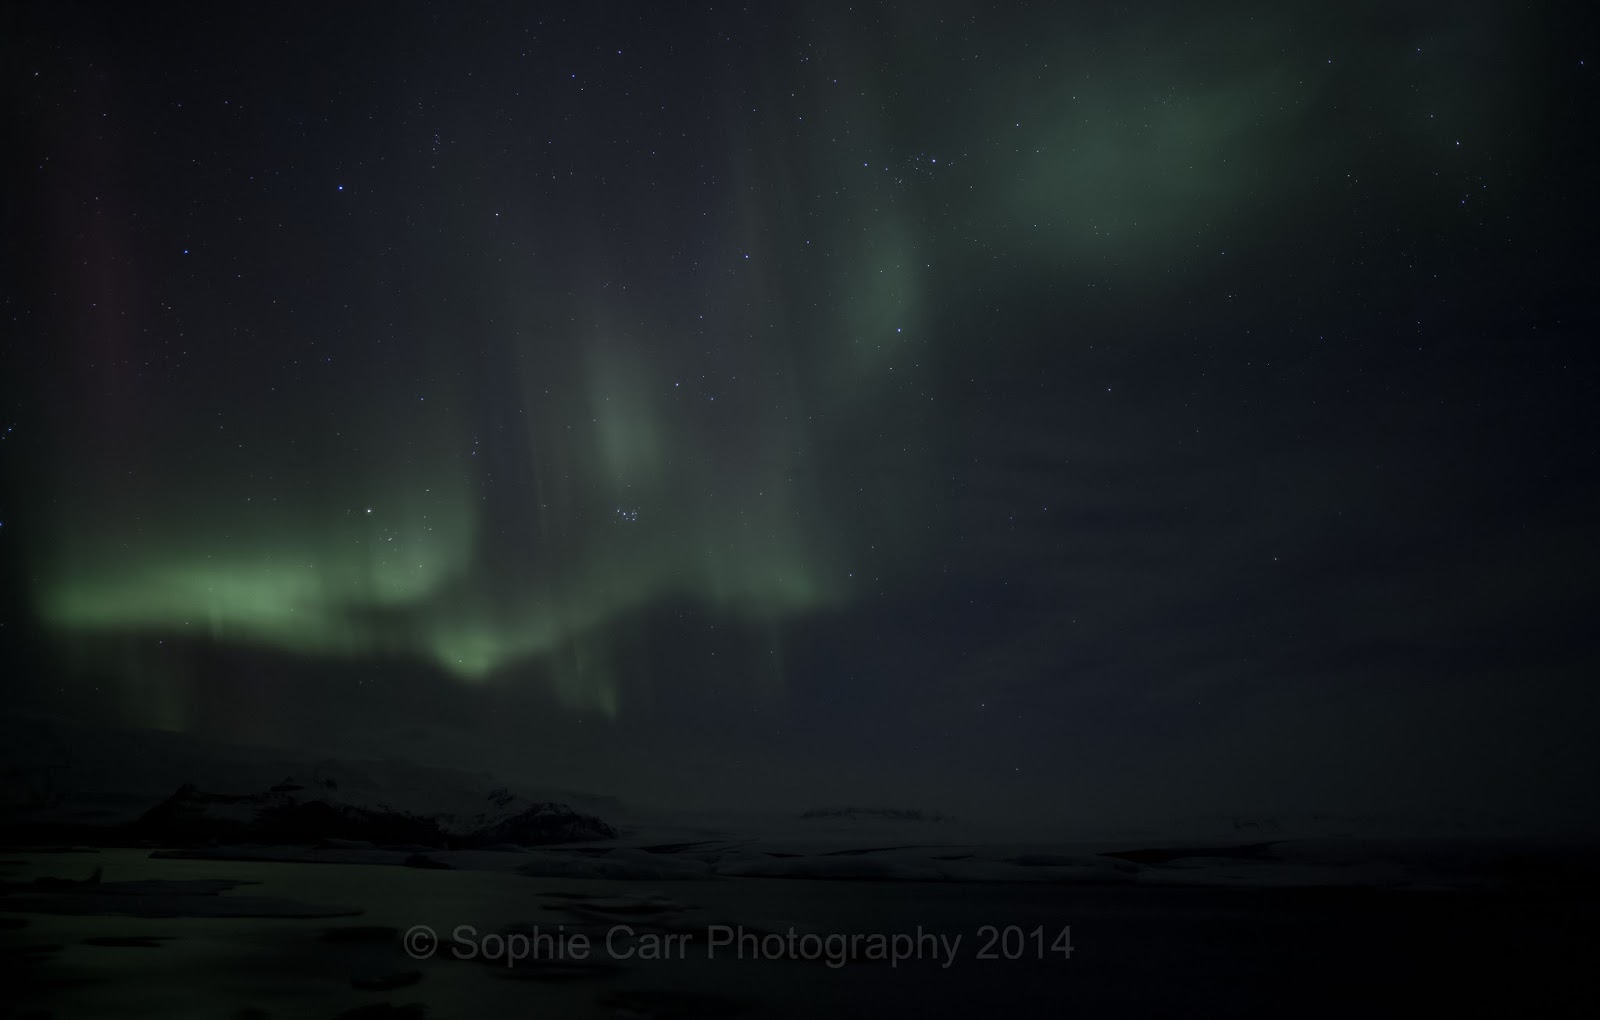
ISO 3200, f/2.8, 15 secs
ISO 2000, f/2.8, 15 secs
2) Shoot in M (fully manual) and try out a few combinations
I'd start with an ISO of around 2500, an f-stop of 2.8 (go as low as you can) and a shutter speed of around 10-12 seconds. From this, then review your image and see if you need to increase the time (you probably will, especially if you're in the middle of nowhere, it's hours after sunset and there's no moon, bright stars or ambient light). Don't expose for longer than 30 seconds, especially if your lens isn't that wide, otherwise the stars will start to show movement which just looks a bit blurred. Even for shorter exposures you'll probably see a little star trail movement at the edges of the shot. You want the stars in the majority of the shot to be sharp. The wider the lens, the longer you'll be able to shoot without the trails showing.

ISO 2000, f/2.8, 8 secs 

If the aurora are bright then you can either reduce the ISO (less noise) or reduce the shutter speed. I haven't tried changing the aperture, but you could go to f/4.0 and see what happens. I tend to over-expose each shot by a couple of stops, which seemed to work pretty well. Some of the lights I saw this year were so bright, though, that I ruined a few shots by over-exposing the green light (something I was surprised I could do!). If there are any lights in the shot, they will come out extremely bright, so you'll need to compensate for that by reducing the exposure time (or hoping you can reduce them in post-processing).

ISO 2000, f/2.8, 20 secs

3) Make sure there's something of interest in the foreground
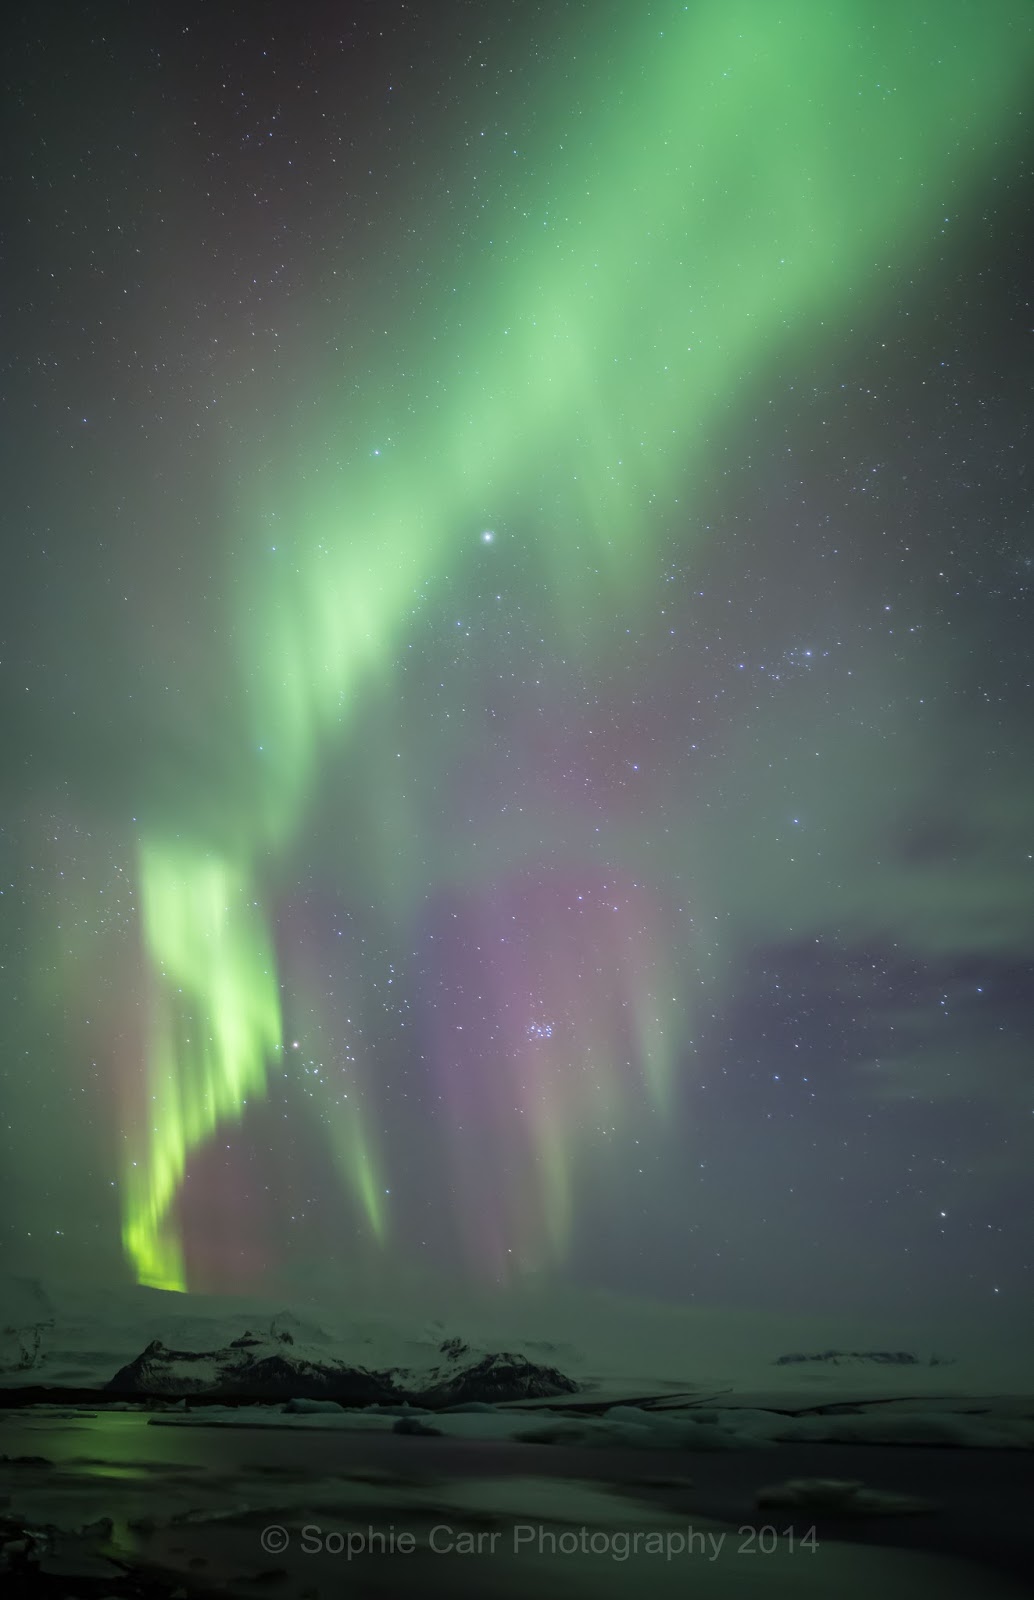
It is quite tricky to compose in the dark, and also to focus, as mentioned above. Try to find a location which has something of interest in it, though, above which the lights can do their thing. Trees, mountains, icebergs, water, huts, you, etc.. add to a shot, although they obviously introduce the difficulty of exposing and focusing correctly. Some people take multiple exposures including one with a lighter foreground to blend with a darker shot of the sky; others just correct in post-processing (I do the latter - seems to work okay if you've over-exposed a little). Don't forget to try portrait shots as well as landscape.


ISO 2500, f/2.8, 25 secs

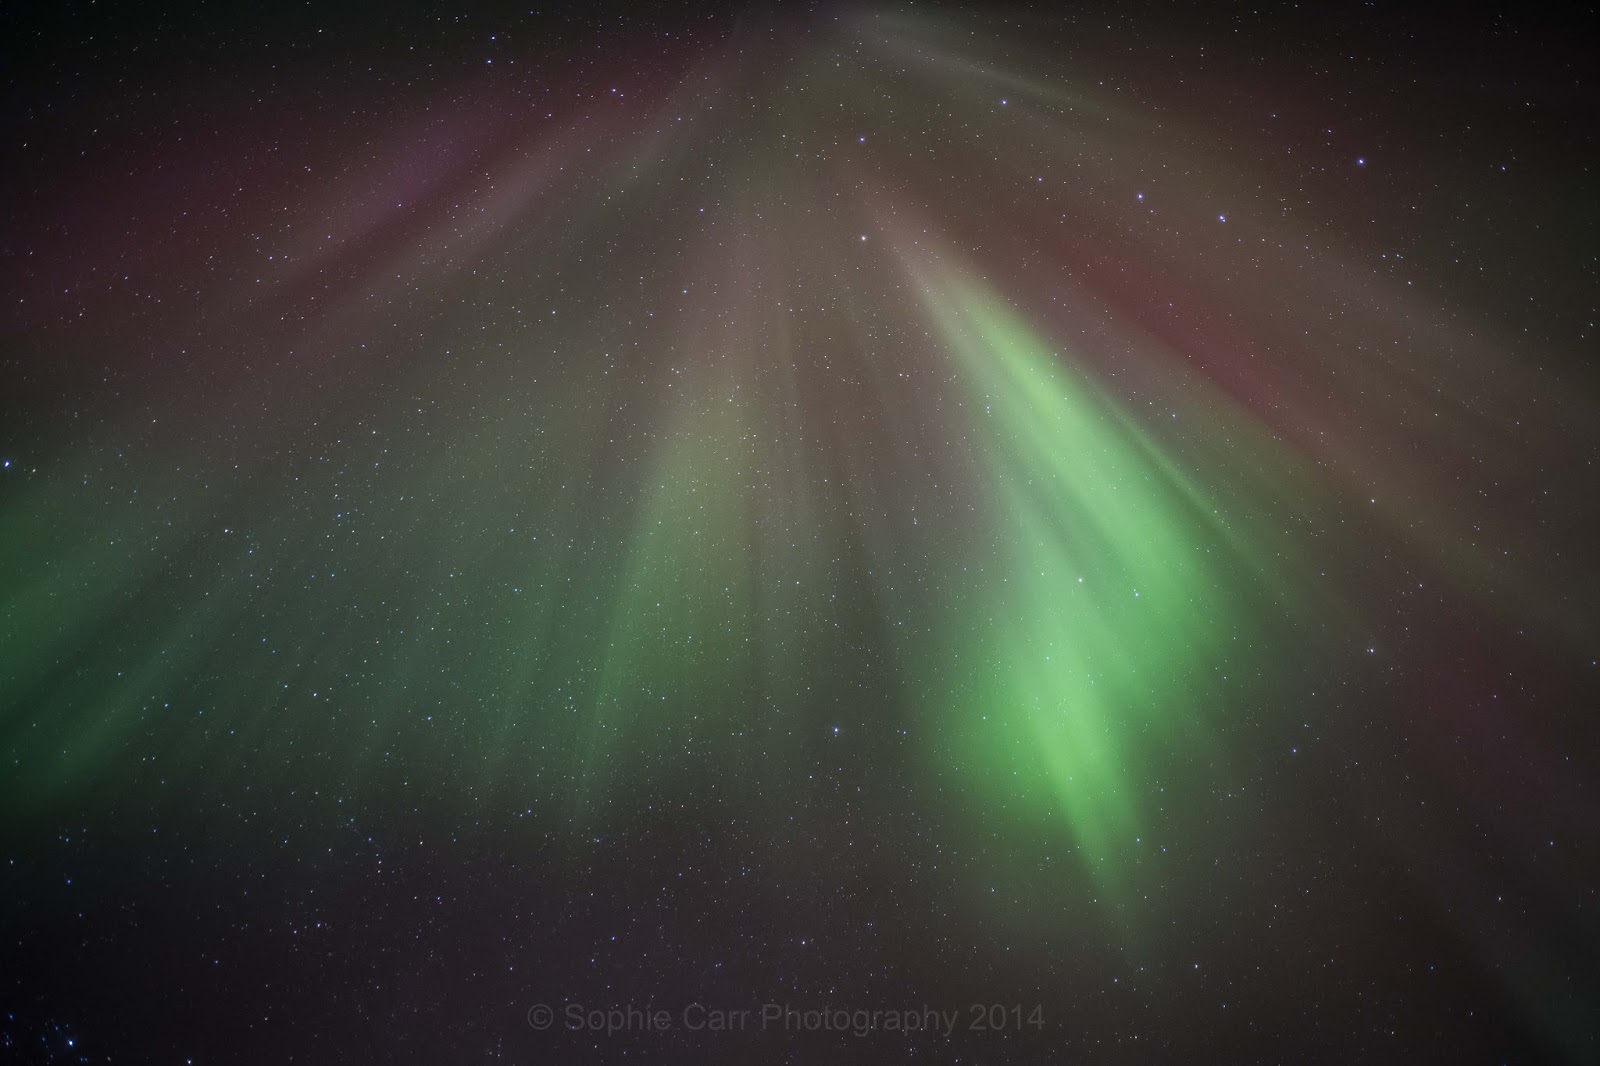
Having said all that, sometimes it's good to just lie back on the ground and look up at the lightshow and capture just that...

ISO 2500, f/2.8, 25 secs

ISO 1600, f/2.8, 6 secs

4) Do a trial shot with high ISO
I have a new little trick to help me with composition. Turn the ISO right up to 25,600 (or as high as yours will go), then compose the shot and review. Each shot at this high an ISO will only take a second or two, so much quicker than trying a longer shot only to find out that the composition is awful, or it's not in focus. Once you're happy, turn the ISO back to a less noisy one and take your long shots.

5) Try a few different locations
It is easy to get caught up in the moment, and just photograph the same view over and over again, worrying that if you move on the lights may stop. They may well do. Staying put might work well if the lights are interesting and moving around a lot, changing direction and colour, but sometimes they are fairly static and each shot will just end up looking the same. Tear yourself away, drive a couple of km, or even walk to a different spot - look for a different foreground. Look behind you! Bear in mind, however, that the lights are usually found to the north, and are mainly visible, then, from west to east across the horizon to the north, with little to see in the south. If you've found yourself a nice subject to the south it's less likely that the lights will be low enough in the sky to be included.

ISO 1600, f/2.8, 20 secs

6) Shoot in RAW
Always shoot in RAW. Just do. Not just for northern lights; always! Makes post-processing so much easier. I once read that you should use daylight white balance for shooting northern lights, but I tried this and it gave a dreadful colour cast (which is obviously changeable if you shoot in RAW). I always used to use Auto White Balance, and then adjust in post-processing if need be, but now I customise it and use K=4200 or thereabouts, depending on the light and colours of the scene. Without RAW you're stuck with the white balance you've shot with and it's a lot harder to adjust.

ISO 1600, f/2.8, 20 secs
 
7) Always use a remote shutter-release or 2-second delay timer
Any movement from pressing the shutter will risk reducing the sharpness of the shot. If it's windy it might be an idea to check that the camera's strap isn't moving around causing slight vibrations to the body; same with the tripod - with some you can hang a bag beneath it to make it more sturdy. Some people recommend using the mirror lock-up, but I haven't found it makes any difference. If you don't have a remote release the 2-second delay timer works fine.

8) Post-processing
I do most of my processing in Photoshop Elements 12, which has Adobe Camera Raw (ACR) for converting the shots from RAW to jpegs, and then I use the Editor for a few more tweaks. In most packages you'll need to follow a few common steps: adjust white balance (to make the colours look "true" and realistic (and usually cooler if you're using AWB)), reduce noise (although not too much or you'll lose stars and detail), adjust the exposure, levels, clarity, contrast, adjusting shadows and highlights (especially if the lights are a bit blown out), etc. Shooting at f/2.8 and in the dark, at least you don't have to worry about dust spots. Not being able to see what you're shooting, though, will mean that you might still need to straighten out your horizon or crop bits and pieces here and there, even if you've done a test shot at high ISO.

ISO 640, f/2.8, 5 secs

OTHER PREPARATION

There are loads of websites that give aurora forecasts, but bear in mind that even if good light activity is forecast, you may still not see it. Ditto with weather forecasts - remember that they're just forecasts, and may be wildly wrong (especially in somewhere like Iceland!). And sometimes the forecast is for no lights and then you hear reports from others that they miraculously appeared. Grrrrr! Even if the forecast is for low levels (under Kp=2.67) you might still get a good show in the distance. There are countless aurora alert twitterers, so have a search and follow some for up-to-date tweets!

Here's a couple of sites I've used:

http://www.spaceweatherlive.com/ (up-to-date aurora activity)
http://www.gi.alaska.edu/AuroraForecast/Europe (the long term one isn't very accurate)
http://en.vedur.is/weather/forecasts/aurora/ (for Iceland)
http://www.swpc.noaa.gov/communities/space-weather-enthusiasts (where most of the info used on other sites comes from - lots of detail I don't understand!) - this has a 27-day forecast which isn't always terribly accurate, but may include recurrence of coronal holes.
The My Aurora Forecast & Alerts app is good to have on your phone.

For weather forecasts in Iceland, I use these (not always accurate!):
http://en.vedur.is/weather/forecasts/areas/
http://www.yr.no/place/Iceland/Capital_Region/Reykjavik/

Sometimes you can still get a good view even if there is some cloud, so don't let that put you off altogether. The yr.no site seems to be pretty good all round, although never trust a forecast more than a couple of days away as it always changes in the meantime.

Also useful for Iceland, is to check the road conditions, especially if there's been any snow:
http://www.vegagerdin.is/english/road-conditions-and-weather/the-entire-country/island1e.html

OTHER ADVICE

1) The lights aren't that green in the flesh!
One thing that I have learned is that the lights are not as bright to the naked eye as what you see in photographs. Although I saw a great spectacle this time around, the colours were still muted. There was a tinge of green and pink, but really the lights do look a bit like streaks of cloud. If lights are forecast and the sky is clear, head out and do a few test shots. You may not see the lights, but the camera will find them with a long exposure! And then you never know, they might get brighter.

I think it is important to manage people's expectations, so I've processed an image to show what the lights look like to the naked eye:

ISO 2500, f/2.8, 8 secs 

And what they look like to the camera (with a little bit of post-processing too):

ISO 2500, f/2.8, 8 secs

2) You may well not see them!
I've spent about 30 days in Iceland in late March, which is a good time of year for auroral activity. I have seen auroral activity during that time on about 4 occasions. The reason for this is 1) it is usually cloudy, and 2) there isn't auroral activity all the time, even if it is forecast. The further north you are, the better the chance, but also bear in mind that you may not see them. Try not to be disappointed and base your whole trip around trying to see them.

3) Try star shots instead.
If it's clear and there are no lights, try to take some star shots instead. You could try doing multiple (maybe 60) shots of 30 seconds each. If you want a circular effect find the north star as the stars revolve around that. Again, make sure there's something of interest in the foreground. An intervalometer is useful for star trail shots as you can programme it to take a certain amount of shots of the same length with a short interval in-between. You could also try to get a shot of the Milky Way.

4) Be aware of the moon
If there's a full moon there will be a lot of ambient light, which will make the lights more difficult to see and photograph (although shutter speeds can be reduced as there is ambient light). Some people suggest that if you're going to somewhere like Iceland in autumn then the moonlight will help to light up the foreground as there is less likely to be snow. If you go in the second half of winter there's more likely to be snow - if there's moonlight there may be far too much light reflected off it. Use a tool like The Photographer's Ephemeris to plan when the moon will be around - even if there is a full moon, look at the moonrise and moonset times, as the moon could well be below the horizon. This year I went just after the full moon, but checked that the moon was below the horizon during the evening and early hours.

5) Make your trip about something else
If you see the lights it will be an added bonus, but as mentioned above, try not to build a holiday or photography trip around it, as you might well be disappointed. Iceland tourism adverts play on everyone's desire to see the lights, but often fail to deliver - fortunately Iceland has enough to offer during the day so that you can't really be disappointed. Just set your expectations at a realistic level!

6) It can be really tiring!
If you're lucky enough to see the lights, or even just out trying, the chances are it's going to be in the very late evening or early hours, or even just before dawn. If you're up for sunrise too this all gets very tiring, so just try to give yourself some time to recover from time to time. On my last trip I was extremely grateful for two separate days of rain so that I could catch up on sleep!

7) You may not be alone...
If you're in a popular destination, the chances are that you won't be alone viewing the northern lights. I was alone on my first night in Egilsstadir, but a couple of nights later in Jokulsarlon I headed down to the lagoon where I expected to see a few other photographers, but in fact found myself surrounded by a coach-load of cackling Japanese tourists. It didn't make for a very ethereal experience... (which it might have been without their chorus). I met someone on the plane home who'd been on a tour from Reykjavik and they specifically asked (and paid more) for a small group trip, as they didn't want to be with a coach-load. It turns out that the small group was one of about 5 or 6 small groups who all turned up at the same place, so not what she had expected either!

Hopefully this has been a bit helpful for you! Please share if it has!